
ElasticDW Console Quickstart
A simple walk through of the ElasticDW environment creation process using the console.
Login to Portal
We have a two part authentication system. The first will register and authorize you to access the portal. We then secondarily authorize portal users to create and destroy resources on AWS.
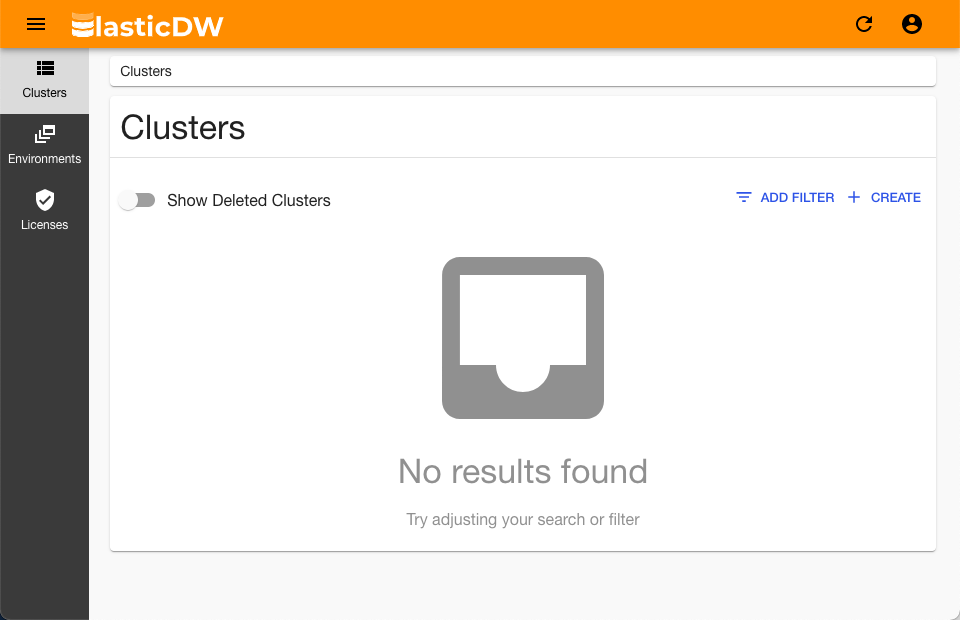
A Blank Slate
When you first login to the portal, you will have no environments created. You will have no clusters or licenses. You will begin in the clusters section which is the default as it is the most used. Before these can be created in your AWS Account, ElasticDW needs an IAM role. This IAM role is the standard security mechanism that allows the product all the permissions necessary to create, update and destroy the appropriate resources in your account. If you haven’t created this role yet, make sure you setup your AWS Integration.
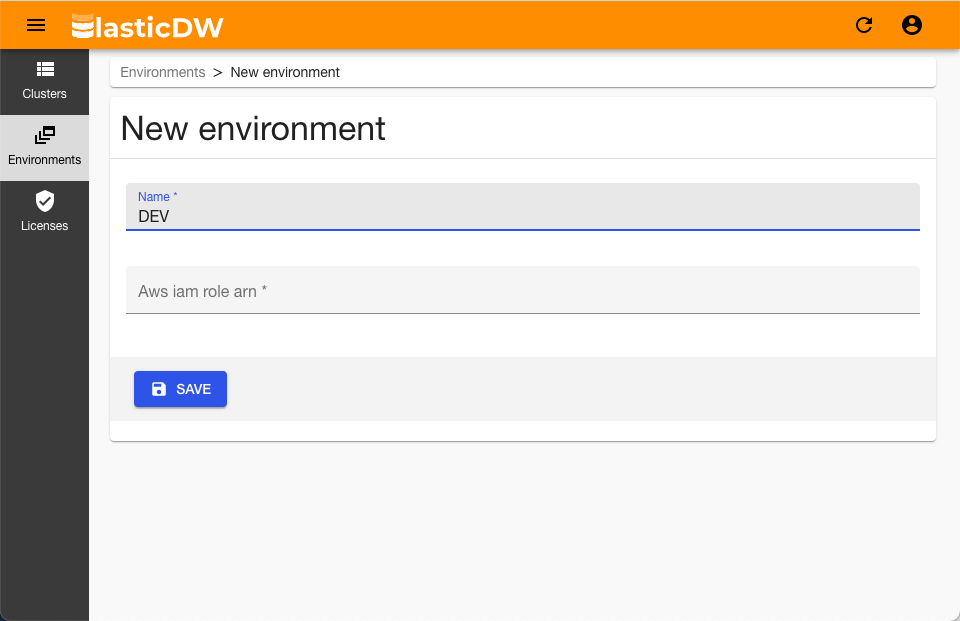
Name your Environment(s)
You can create any number of environments. Environments are the way to organize your multiple clusters based on any category you invent. Most typically DEV, QA & PROD are used.
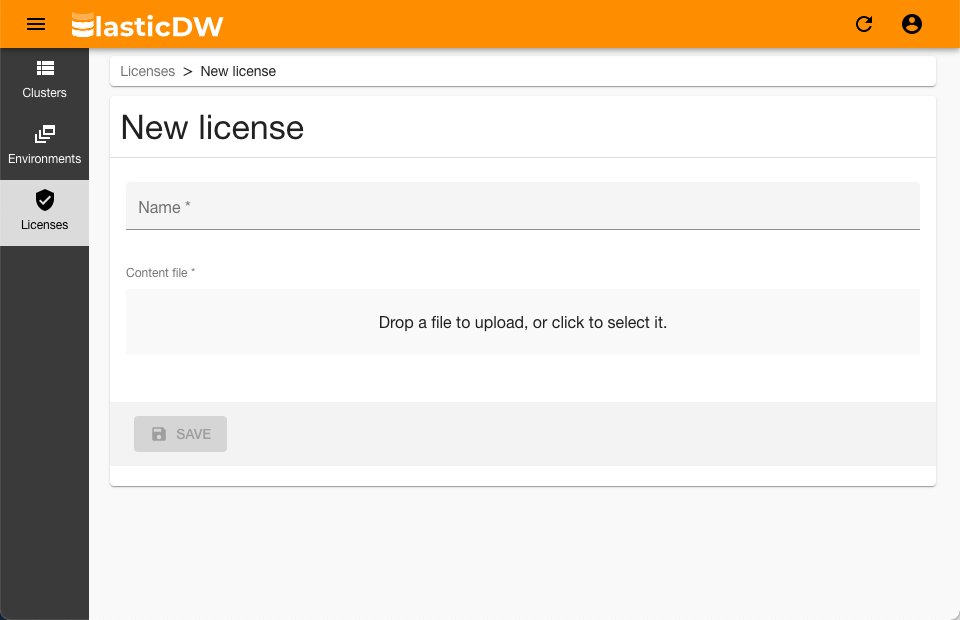
Add your License
The CE License is available by default in ElasticDW for clusters using the latest version of Vertica. If you need to use a different license, you may upload your own Vertica licenses and use them on your clusters. You can upload as many licenses as you have. ElasticDW will check for duplicates.
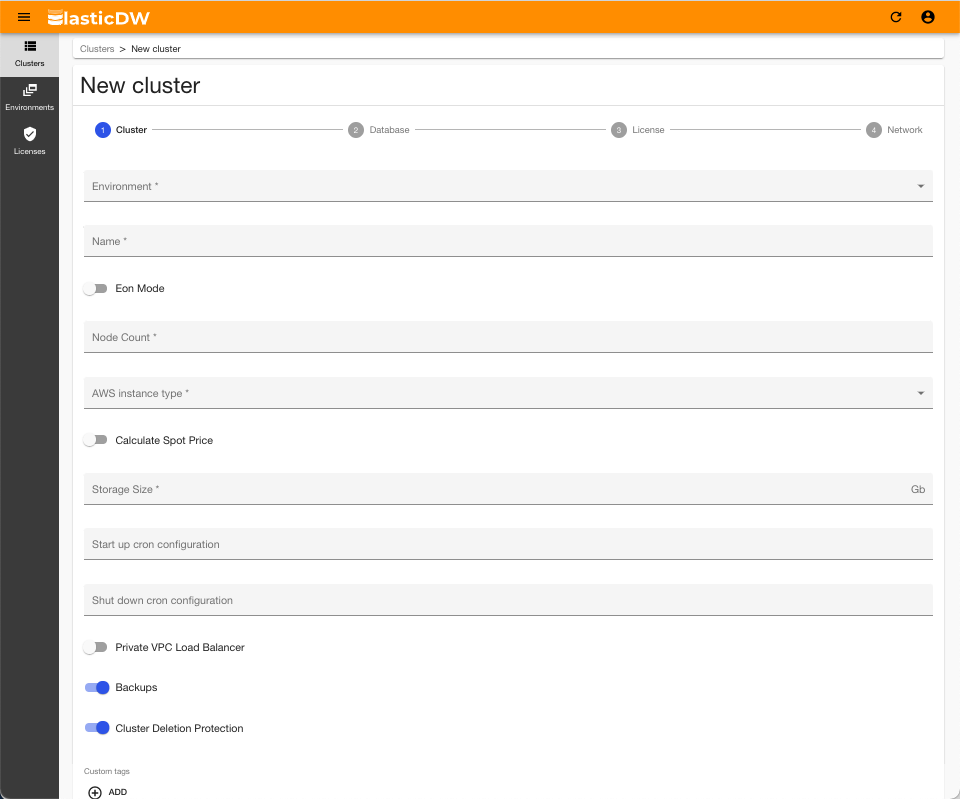
Setup Cluster - Step 1
Note that this configuration is an initial configuration. ElasticDW will support adding and subtracting nodes, changing the size of nodes and a number of other operations. Notice that we could put price limits as well as time limits on the use of spot instances. That is because we are capable of provisioning nodes programmatically. This counts for Vertica software upgrades as well. Since this entire process runs serverless, it may take a minute to get warmed up. You won’t be charged for idle servers waiting.
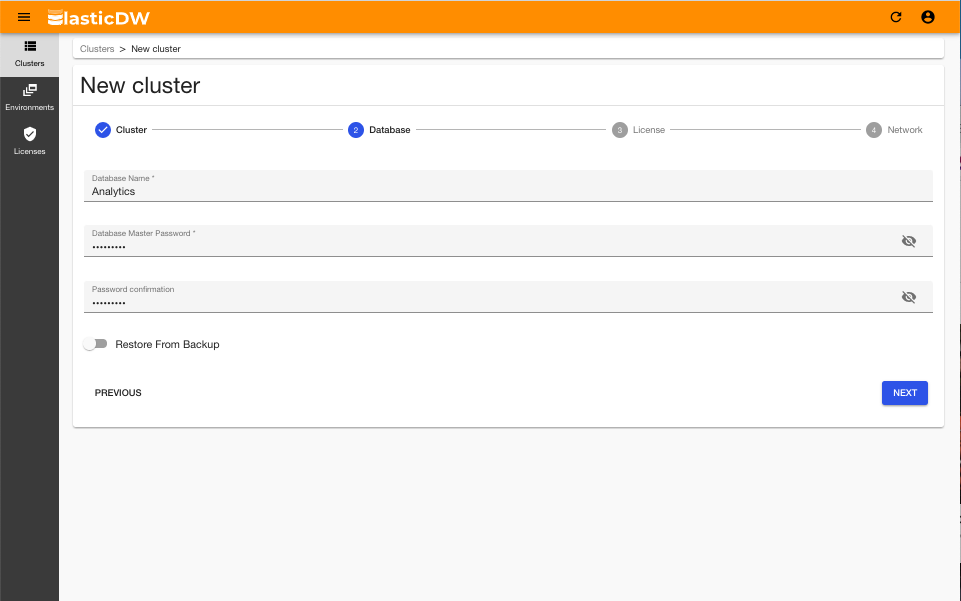
Setup Cluster - Step 2
Next, give the database a name. You will run one database per cluster. Remember your password!
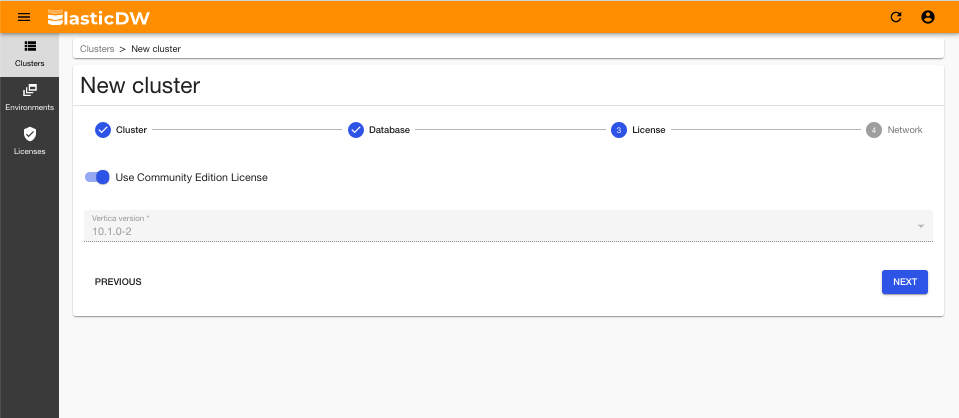
Setup Cluster - Step 3
- If you select the CE license, you can only use the latest version supported by Vertica.
- If you select a commercial license, you may select a Vertica version from the ones supported by ElasticDW.
Setup Cluster - Step 4
Your final configuration step is to place the cluster into your network environment using your VPC and Subnet IDs.

EDW Infrastructure Creation & Configuration
At this point the materials are being gathered to initiate the process of creating the necessary components of installation according to your specifications. Most clusters take less than 15 minutes to create.
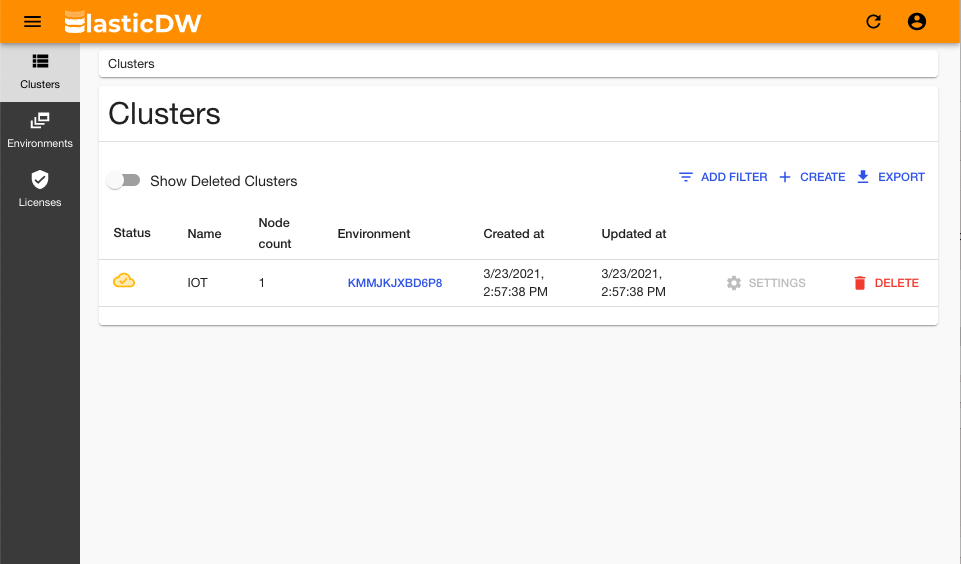
Database Available
Now you are ready to connect using the database endpoint URL given to you on the detailed page.
